Creating Returns Using Select Forms Dialog
To create returns using the Select Forms dialog box, select the "Show me the list of forms when creating a new return" check box in the Return Manager Preferences. This check box is not selected by default.
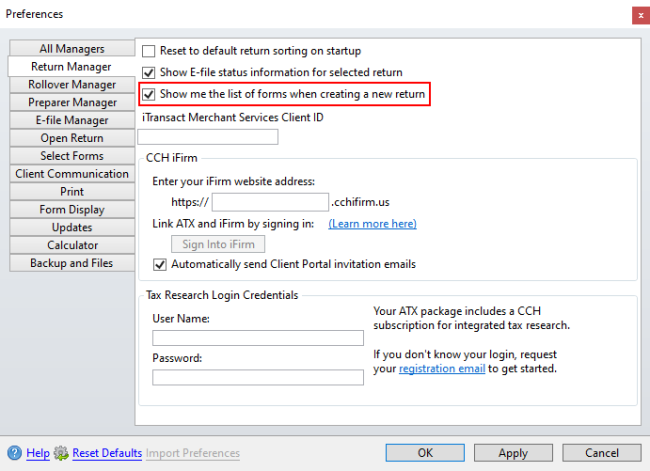
Return Manager Preference is selected
To start a new return:
- From Return Manager, do one of the following:
- Click the New button on the toolbar.
- Click the Returns menu; then, select New Return.
- Press Ctrl+N.
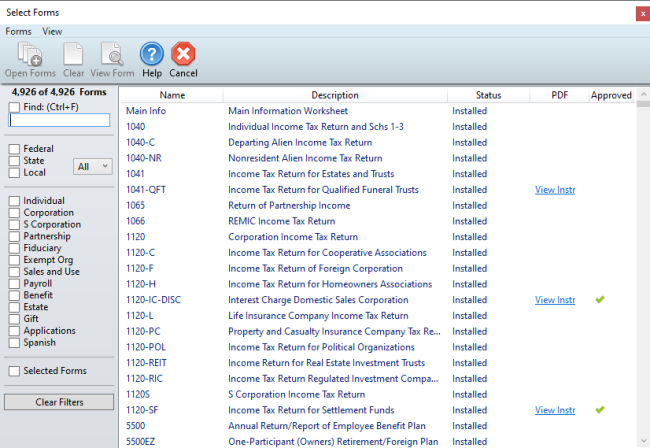
Select Forms dialog box
- Highlight the form(s) you want to add to the return.
To select multiple forms, simply click each desired form.
- Click the Open Forms button on the Select Forms toolbar.
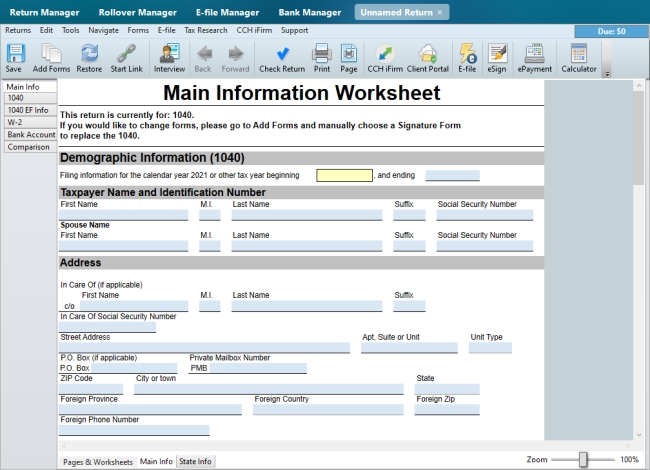
New return
If you use CCH iFirm you are able to import client contact information when starting a new return. See Import CCH iFirm Contact Data into a New Return.
- Enter the demographic client data into the Main Information Worksheet and State Information Worksheet (if applicable). The client data will flow into all forms in the return plus insert appropriate forms based on the client's data.
- Complete the necessary tax form(s).
To save the new return:
- Do one of the following:
- Click the Save button on the toolbar.
- Click the Returns menu; then, select Save Return.
- Press Ctrl+S.

Return Name dialog box
By default, ATX names the return for the Taxpayer (and Spouse, if applicable).
- Do one of the following:
- Accept the default name and click Save.
- Enter a new name for the return; then, click Save.
See Also: